How To Secure Kallax To Wall With Baseboards. one option to address the gap is to mount a board to the wall and then secure the shelves to the board. while waiting for the paint to dry, kallax was prepared to be mounted to the wall. In us parlance you could use a 1x3 or a 2x4. You could simple and just use some painted ornate trim, it's easy to match the baseboard with a jigsaw and files. Just position the unit where you want it, mark on. Plastic part was melted, so. In this video, i have the. Turn the tall unit on its side and create a bench with cubby. turn a flaw into a feature! install a 3/4 inch thick by 1 inch wood batton horizontally across the wall and use the provided wall angle brackets to secure the kallax to the batton. ikea kallax wall mounting is a great way to make the most of the wall area, while freeing up space on the floor. the kallax has tons of storage for supplies in a craft room. i had to do something similar with baseboards when installing my closet organizer unit.
from www.printables.com
ikea kallax wall mounting is a great way to make the most of the wall area, while freeing up space on the floor. turn a flaw into a feature! the kallax has tons of storage for supplies in a craft room. while waiting for the paint to dry, kallax was prepared to be mounted to the wall. Turn the tall unit on its side and create a bench with cubby. install a 3/4 inch thick by 1 inch wood batton horizontally across the wall and use the provided wall angle brackets to secure the kallax to the batton. In us parlance you could use a 1x3 or a 2x4. Plastic part was melted, so. one option to address the gap is to mount a board to the wall and then secure the shelves to the board. You could simple and just use some painted ornate trim, it's easy to match the baseboard with a jigsaw and files.
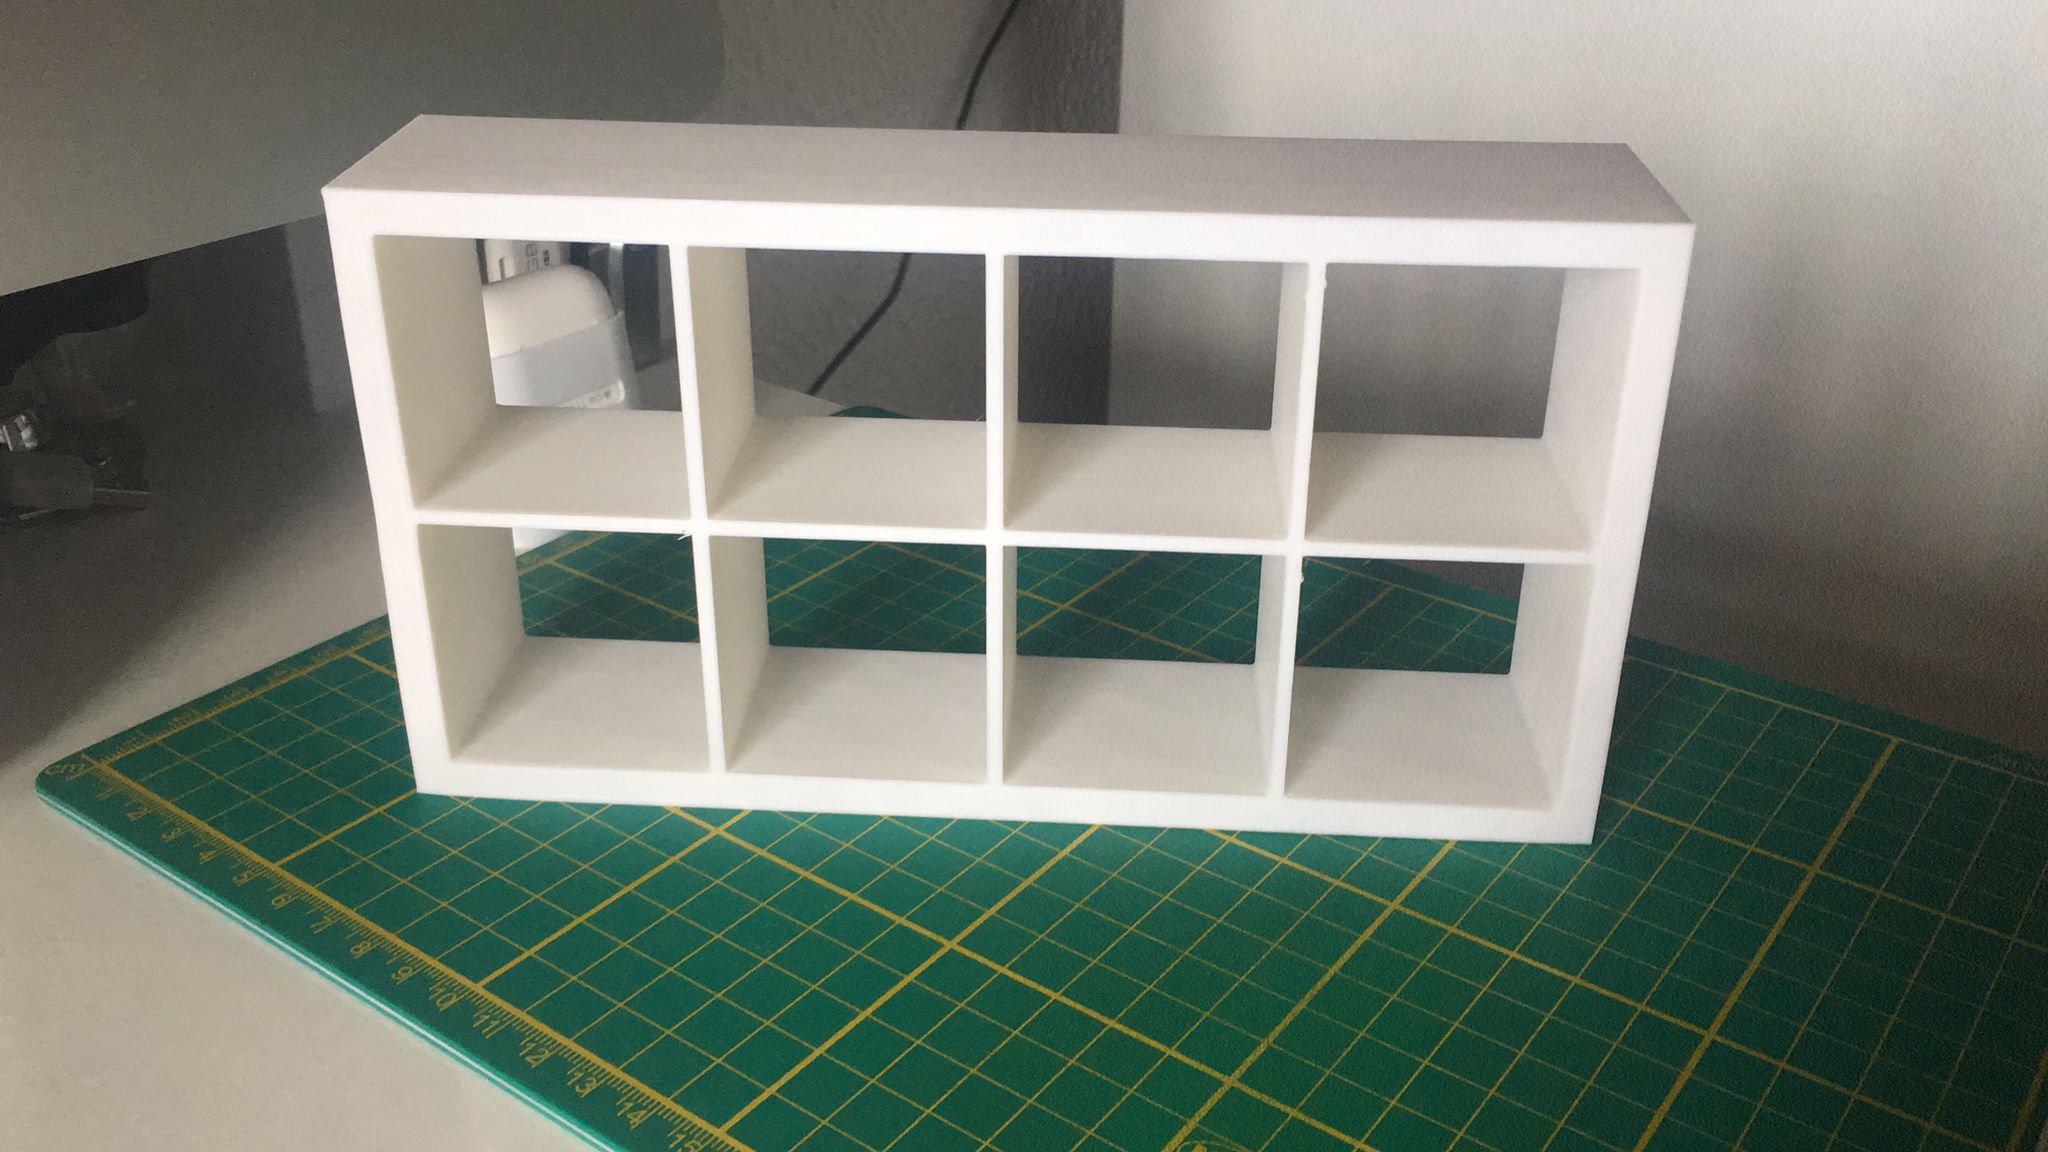
IKEA KALLAX by Ampa777 Download free STL model
How To Secure Kallax To Wall With Baseboards Plastic part was melted, so. the kallax has tons of storage for supplies in a craft room. Plastic part was melted, so. one option to address the gap is to mount a board to the wall and then secure the shelves to the board. install a 3/4 inch thick by 1 inch wood batton horizontally across the wall and use the provided wall angle brackets to secure the kallax to the batton. Just position the unit where you want it, mark on. turn a flaw into a feature! Turn the tall unit on its side and create a bench with cubby. i had to do something similar with baseboards when installing my closet organizer unit. while waiting for the paint to dry, kallax was prepared to be mounted to the wall. You could simple and just use some painted ornate trim, it's easy to match the baseboard with a jigsaw and files. In us parlance you could use a 1x3 or a 2x4. ikea kallax wall mounting is a great way to make the most of the wall area, while freeing up space on the floor. In this video, i have the.